Home PC Build with Linux and CUDA Installation
Since my external GPU setup, I became interested in putting together hardware myself to run my work more efficiently. I used the eGPU as it was an easier solution to transport around when I traveled.
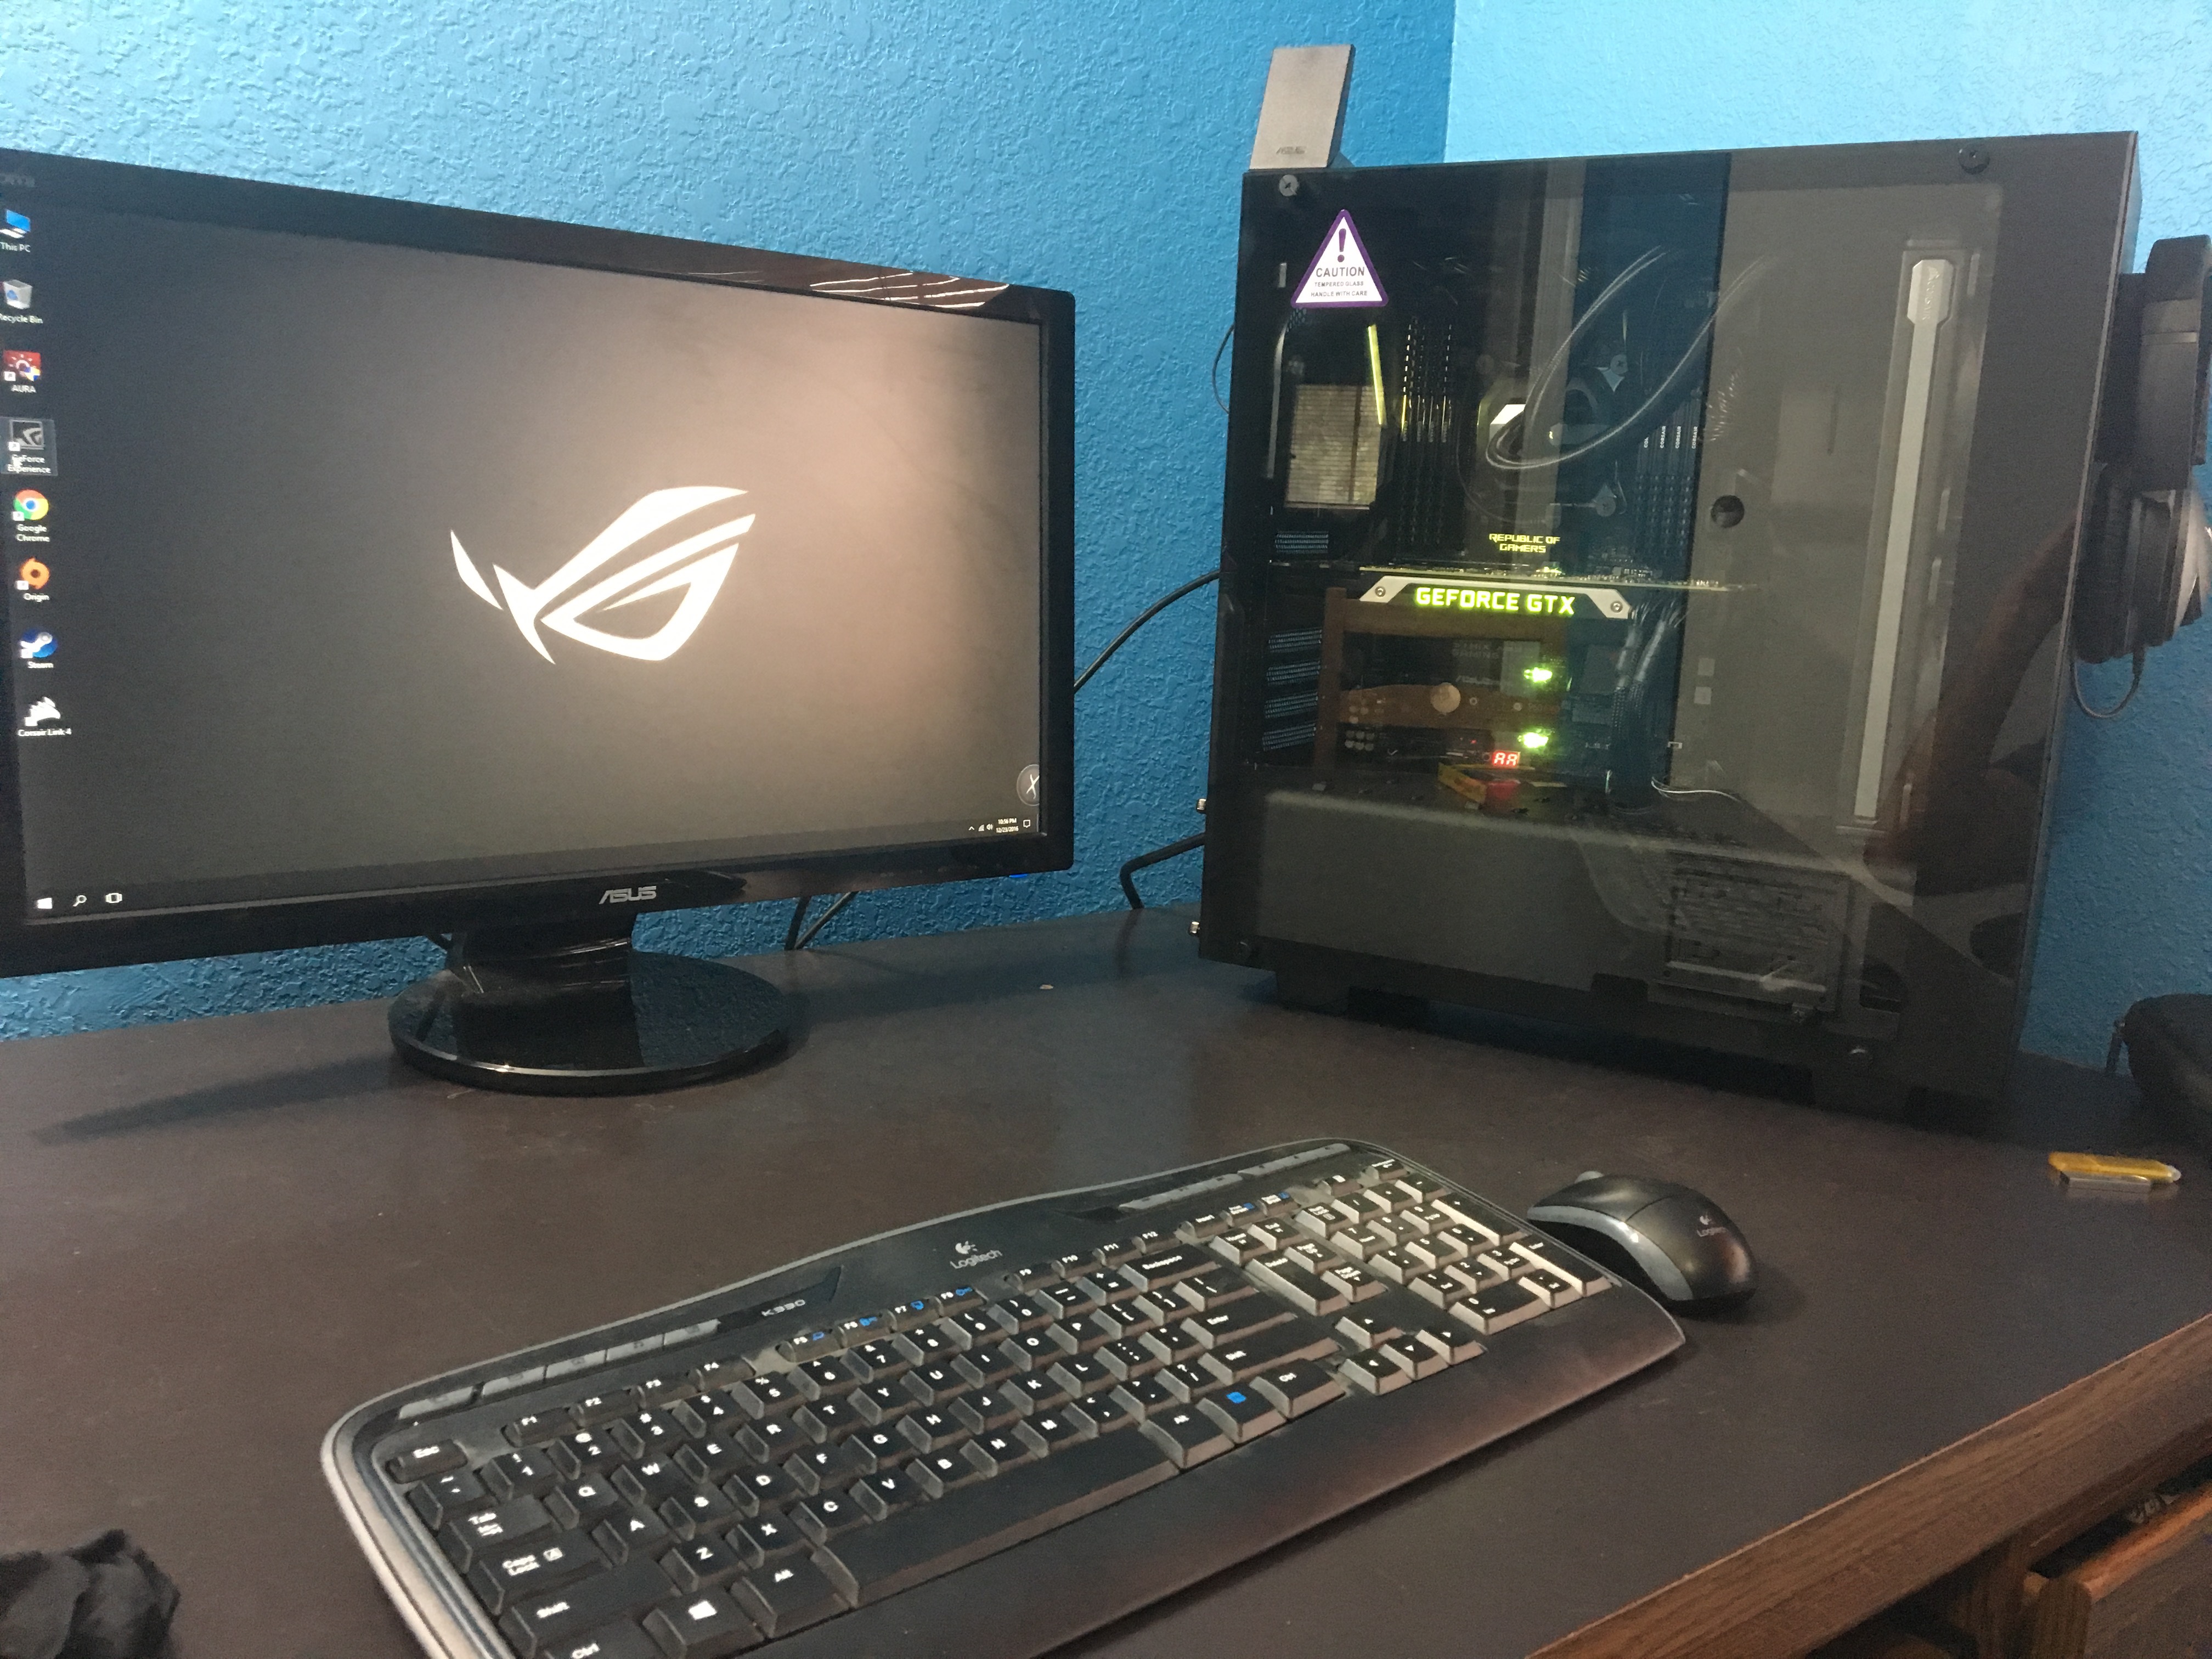
Before coming home for winter break, I decided that I would build a PC for deep learning and selected the accordingly. There are compromises to building a system, including CPU and motherboard architecture, storage, RAM, and a GPU, which I already had. There are a few guides which discuss what hardware is worth buying to accelerate GPU operations. I also wanted this to become a productivity PC that I would use so some RGB style points were added :). These are the parts I ended up buying.
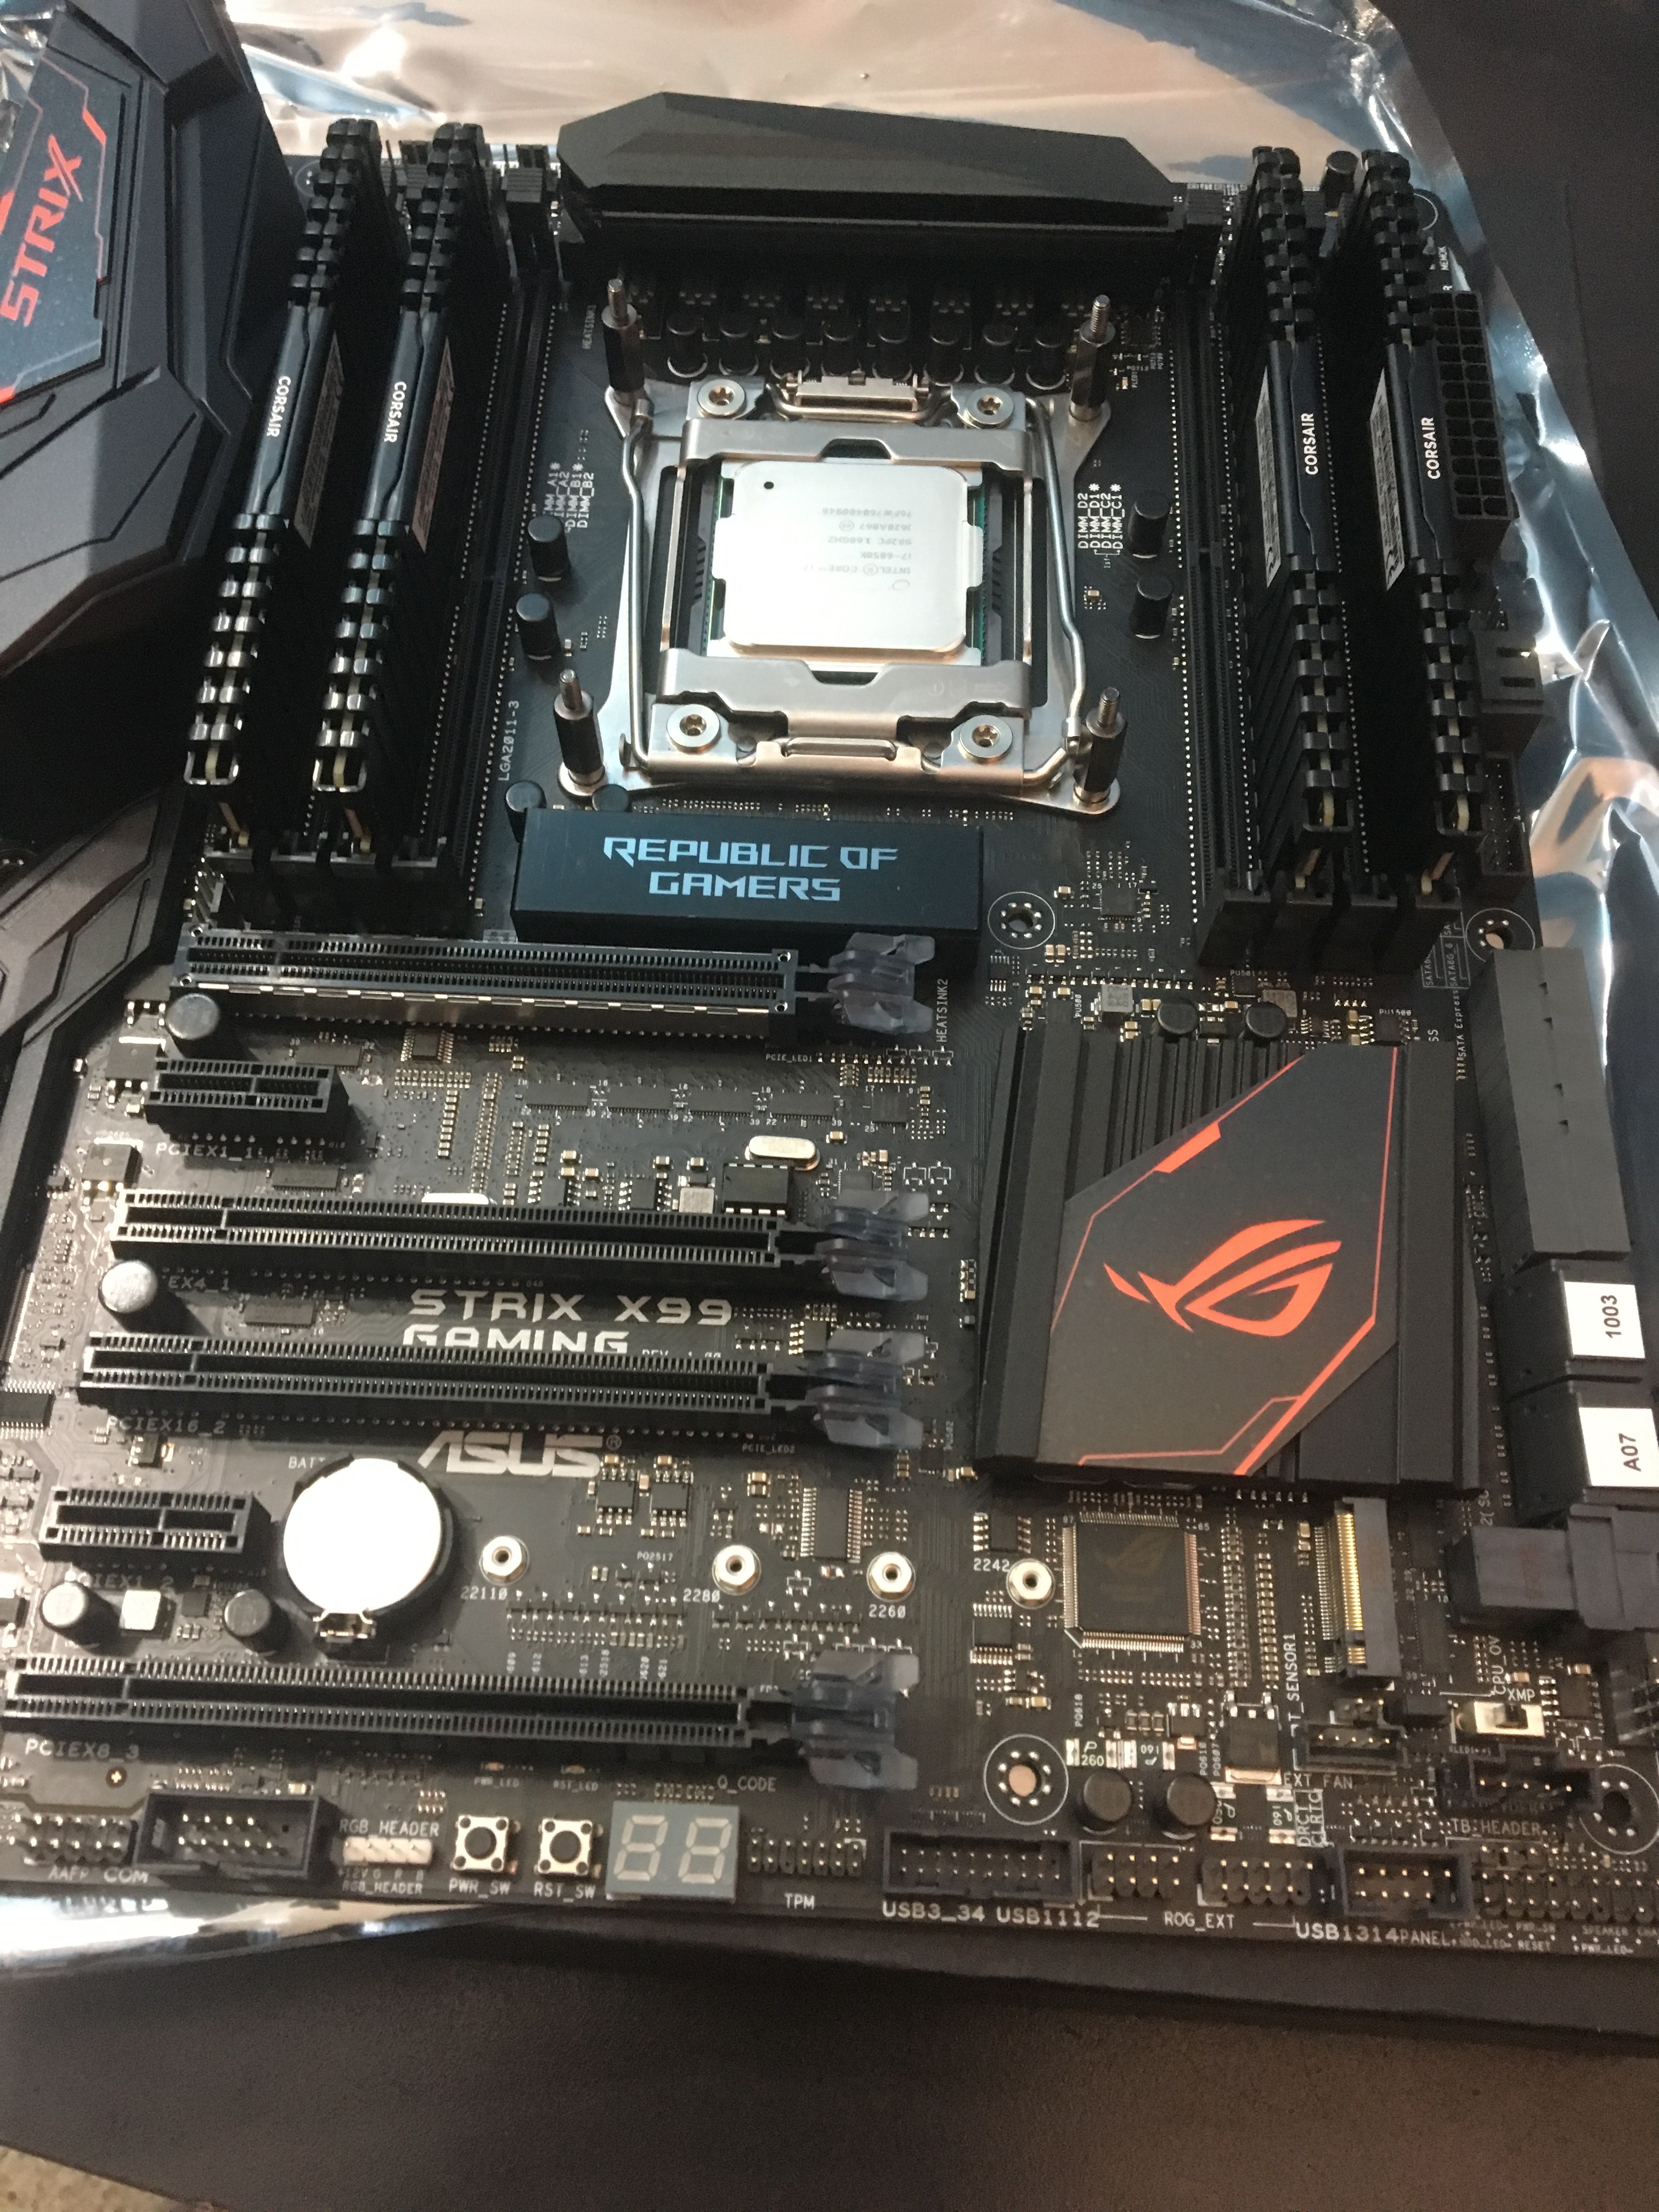
- Intel 6850k
- Corsair H115i
- Asus Strix x99 Gaming
- Corsair Vengance LPX DDR4 4x16 @2400MHz (2 sets)
- Samsung 960 EVO 1TB PCIe NVMe SSD
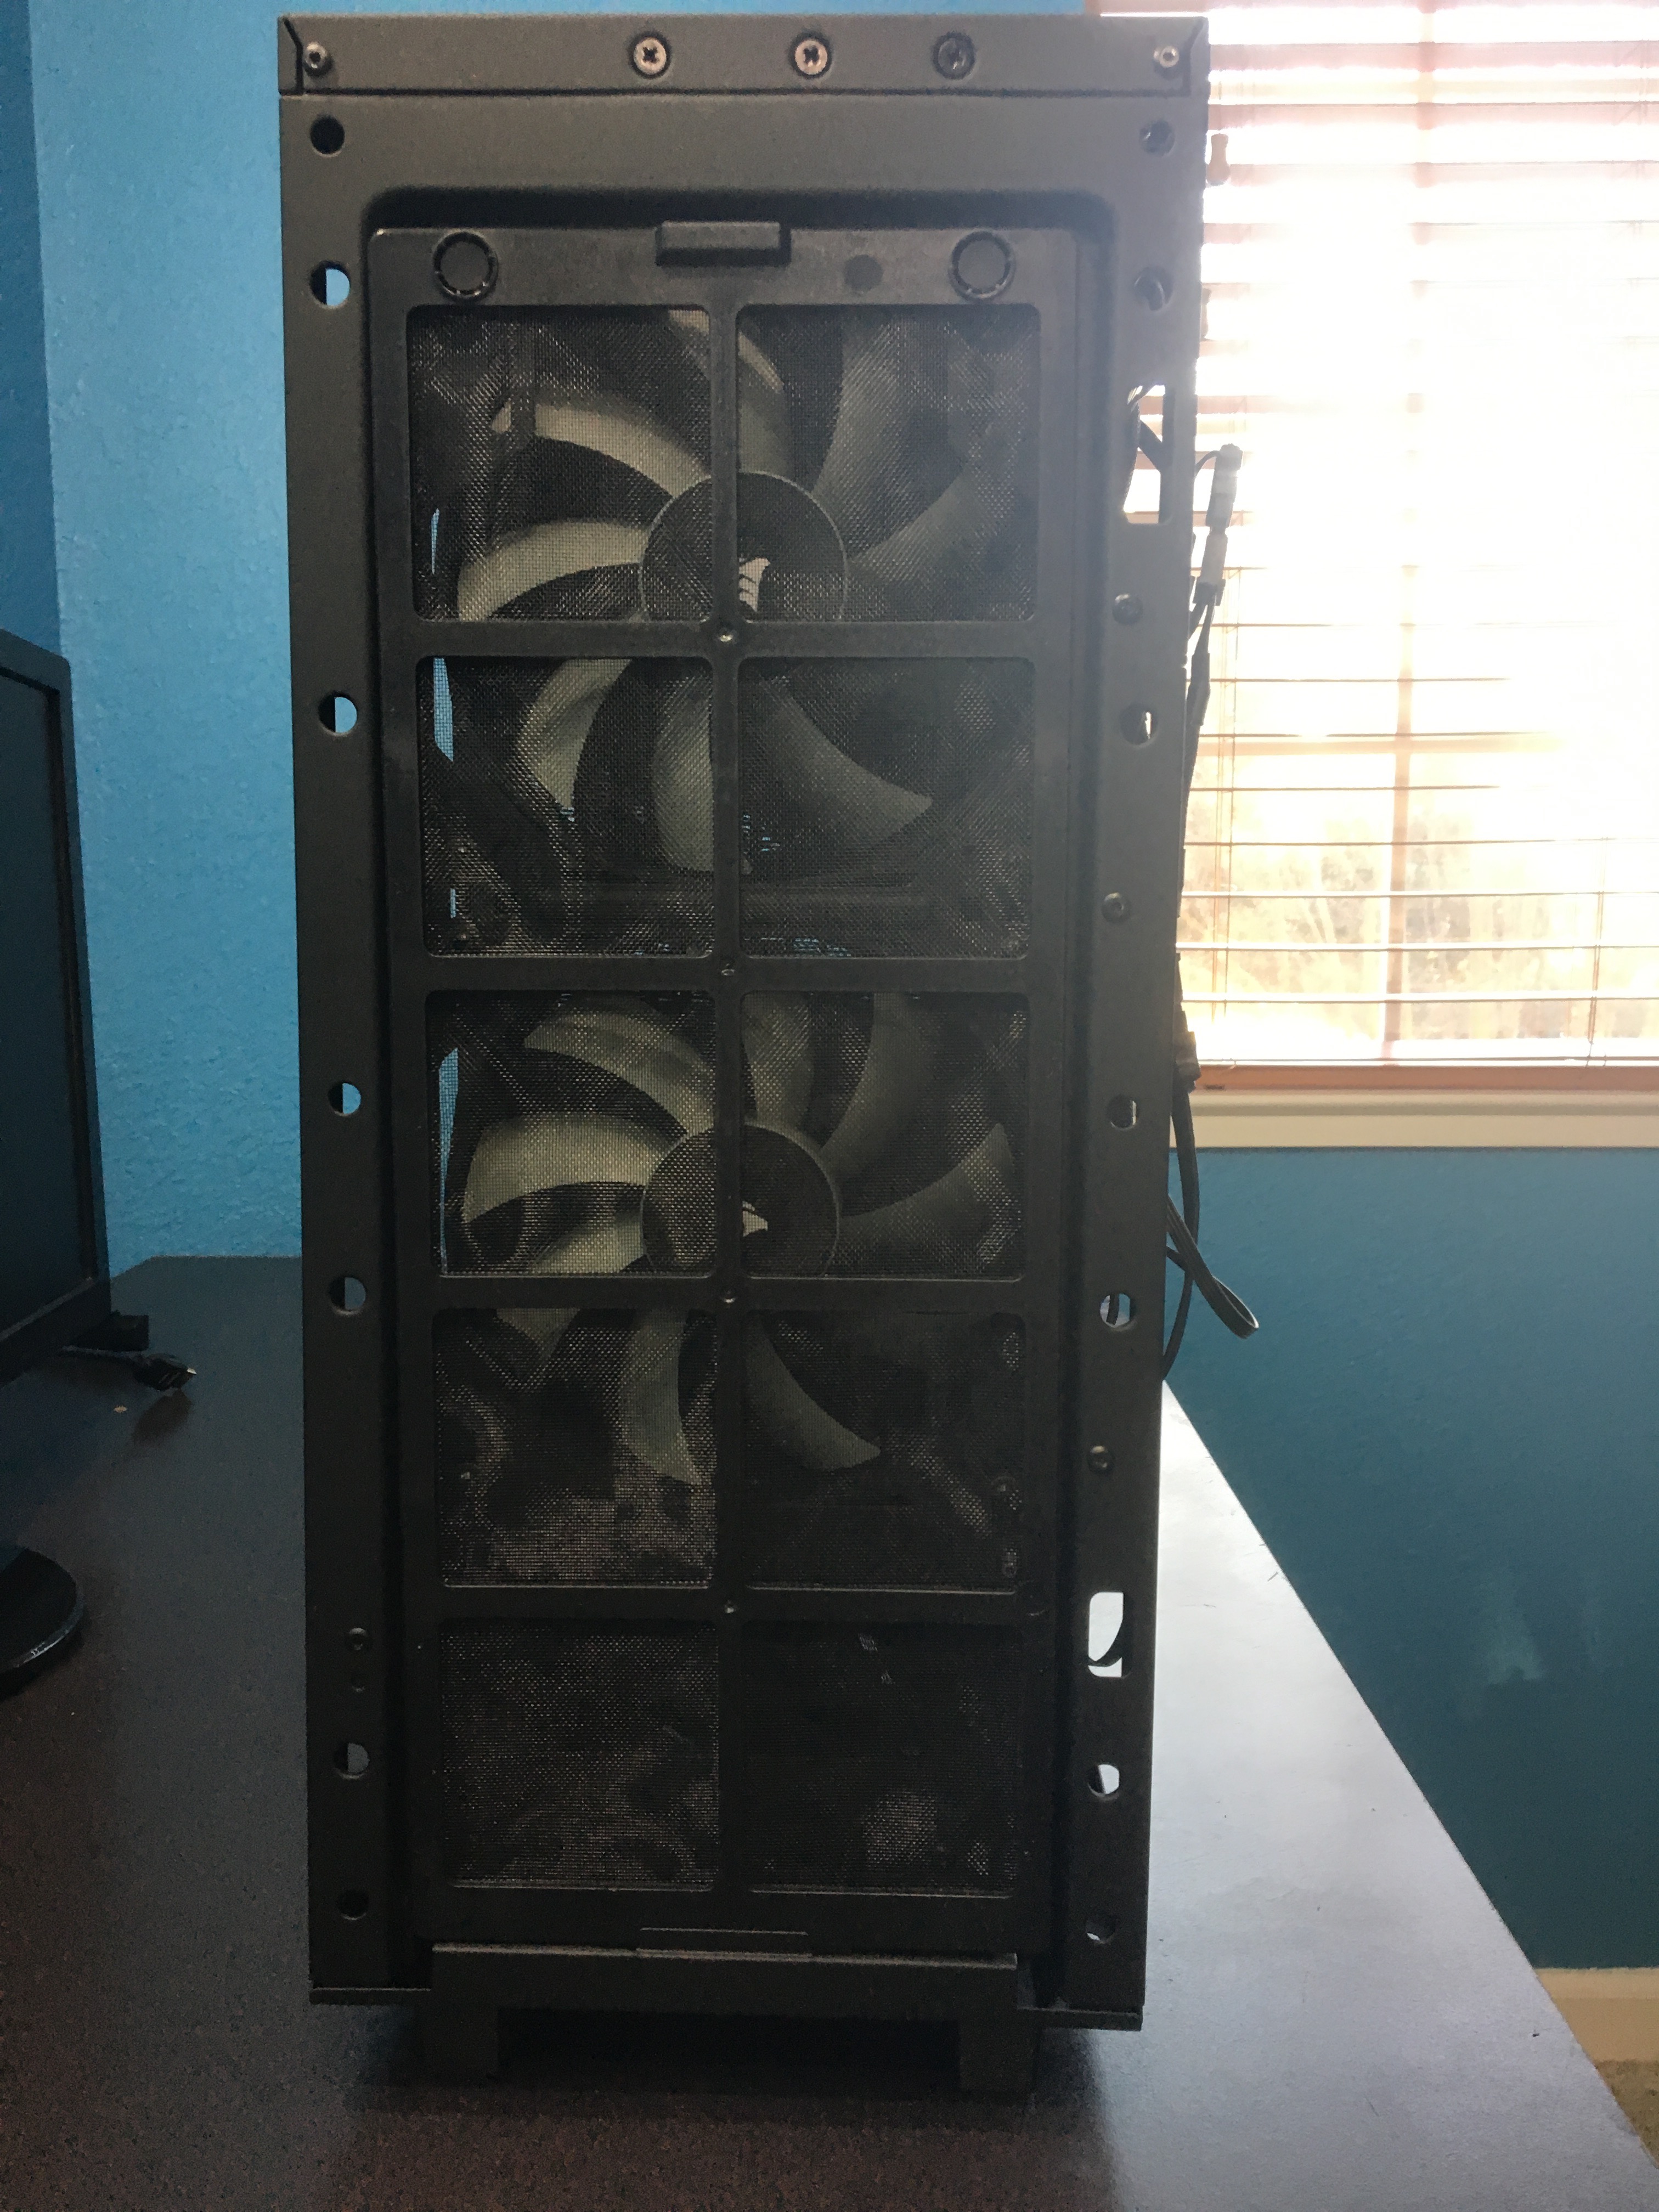
- NZXT S340 Elite
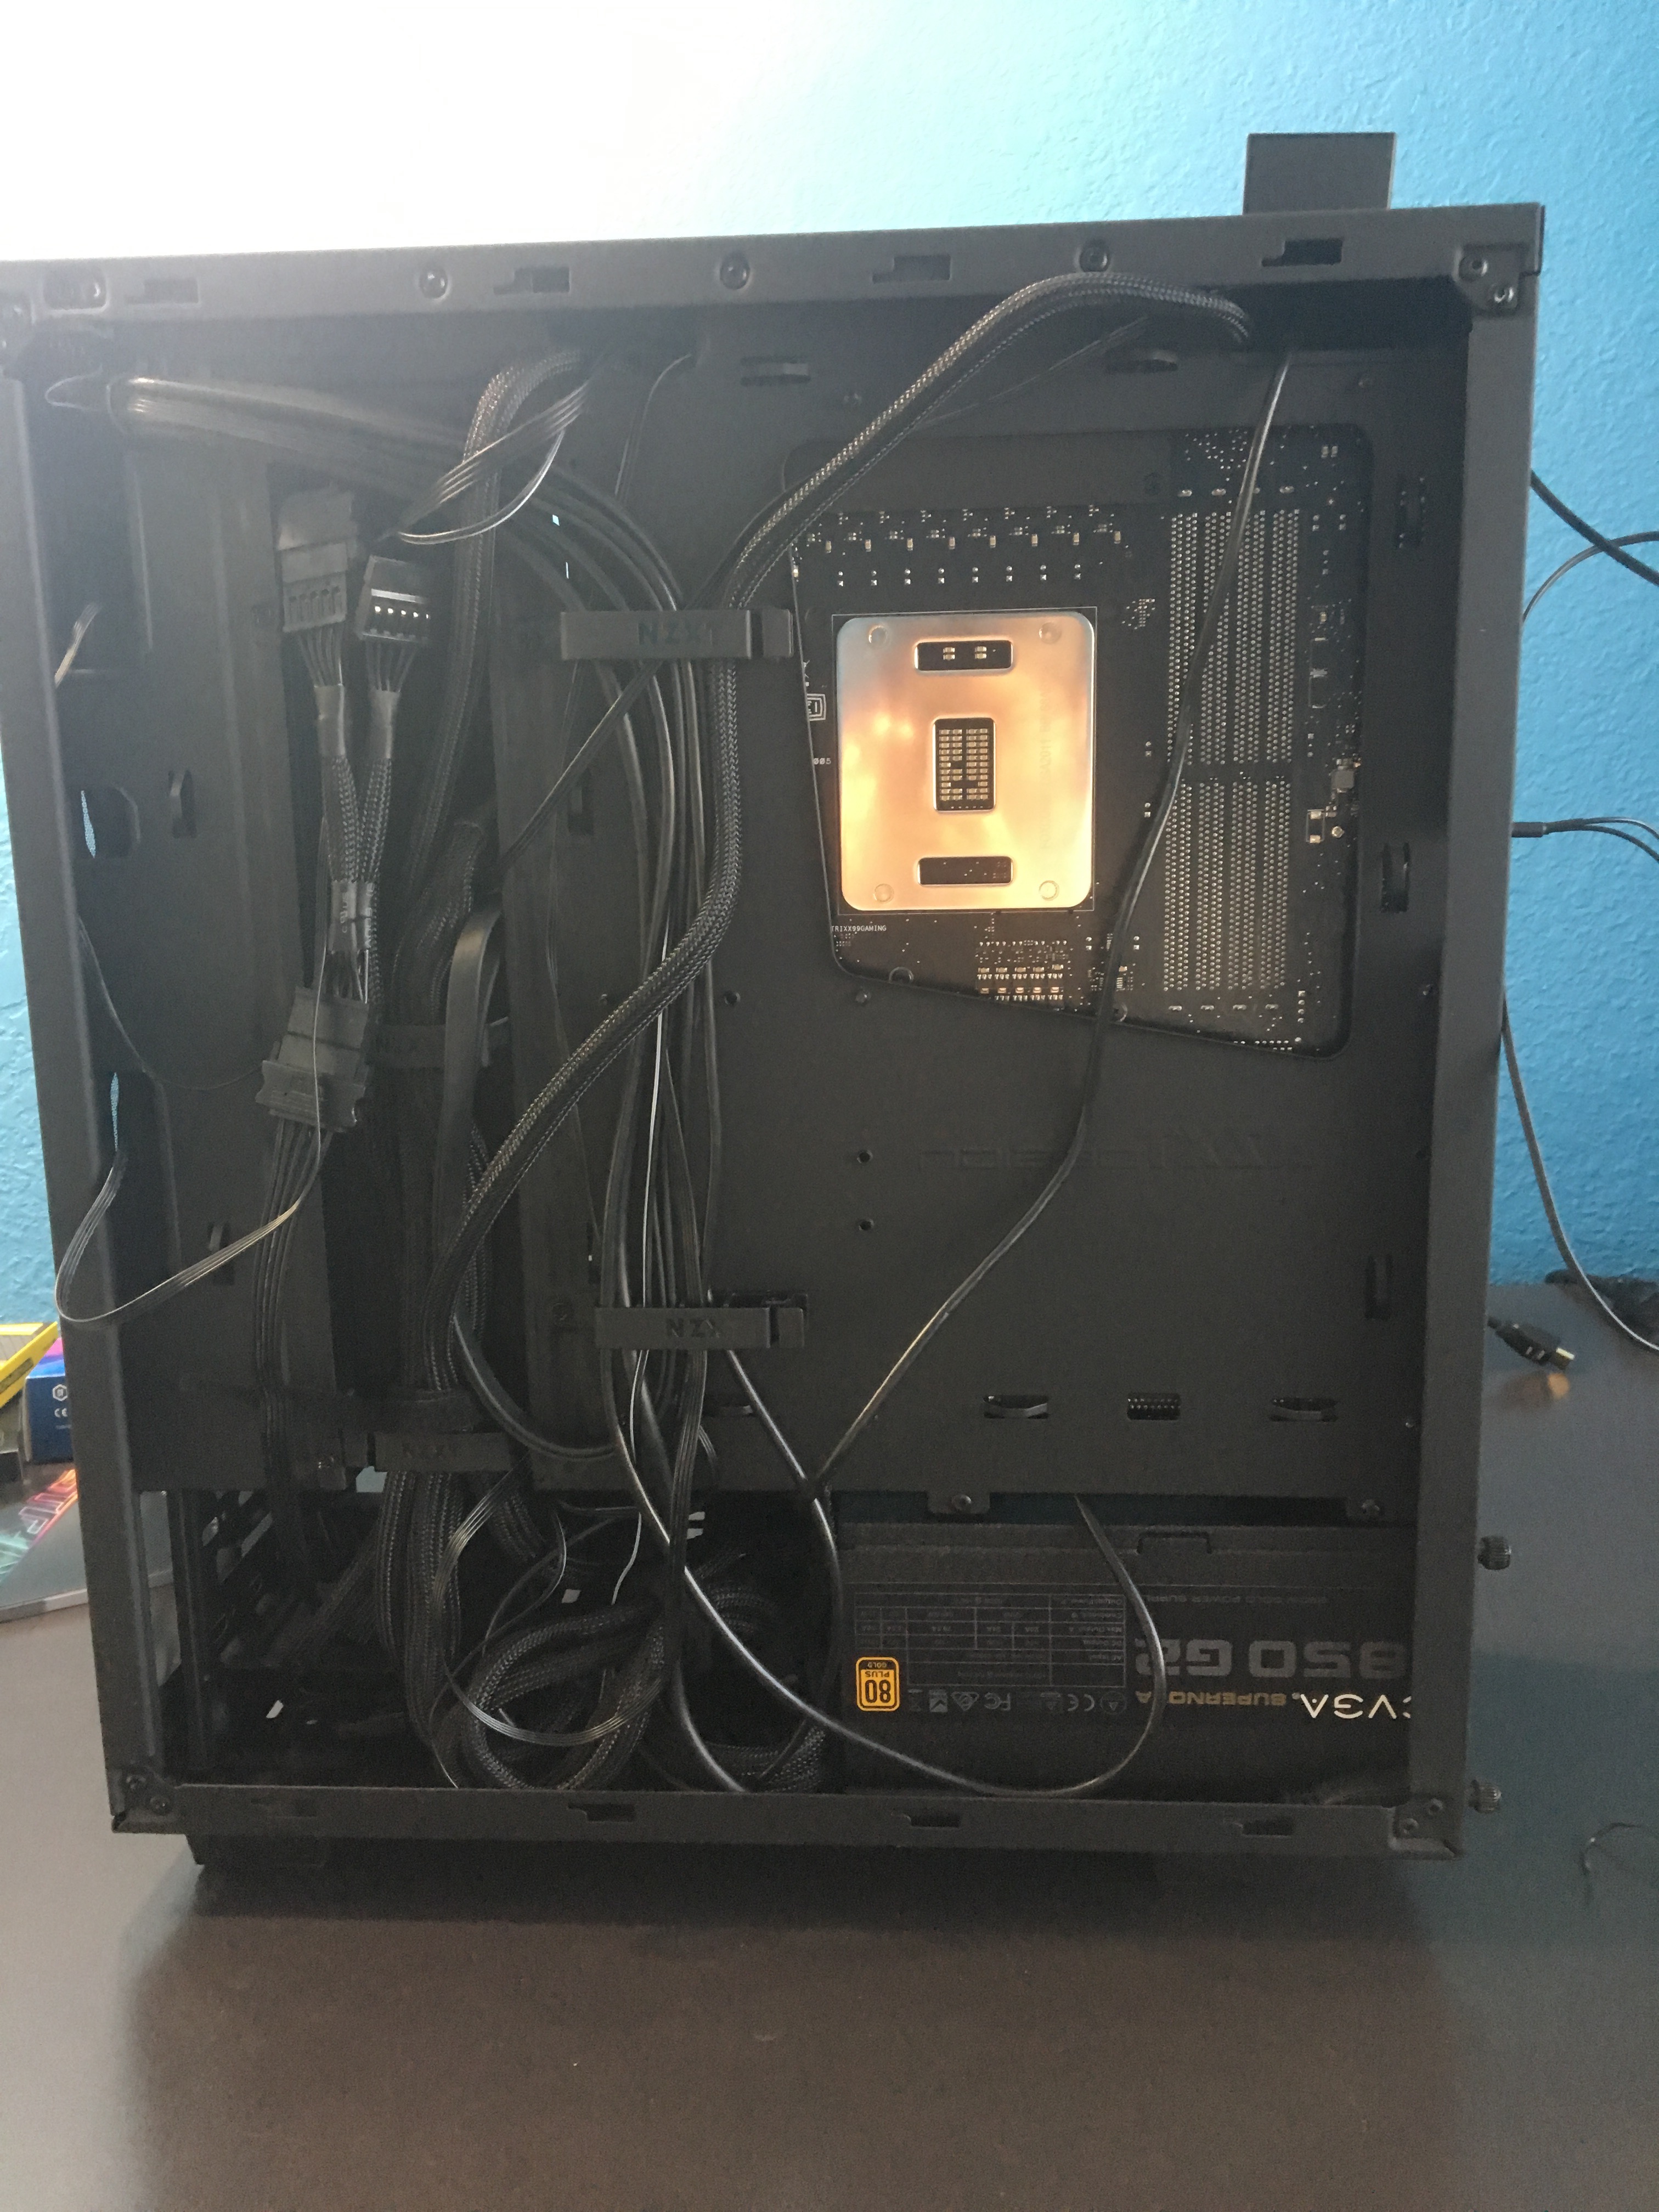
- EVGA Supernova 850W
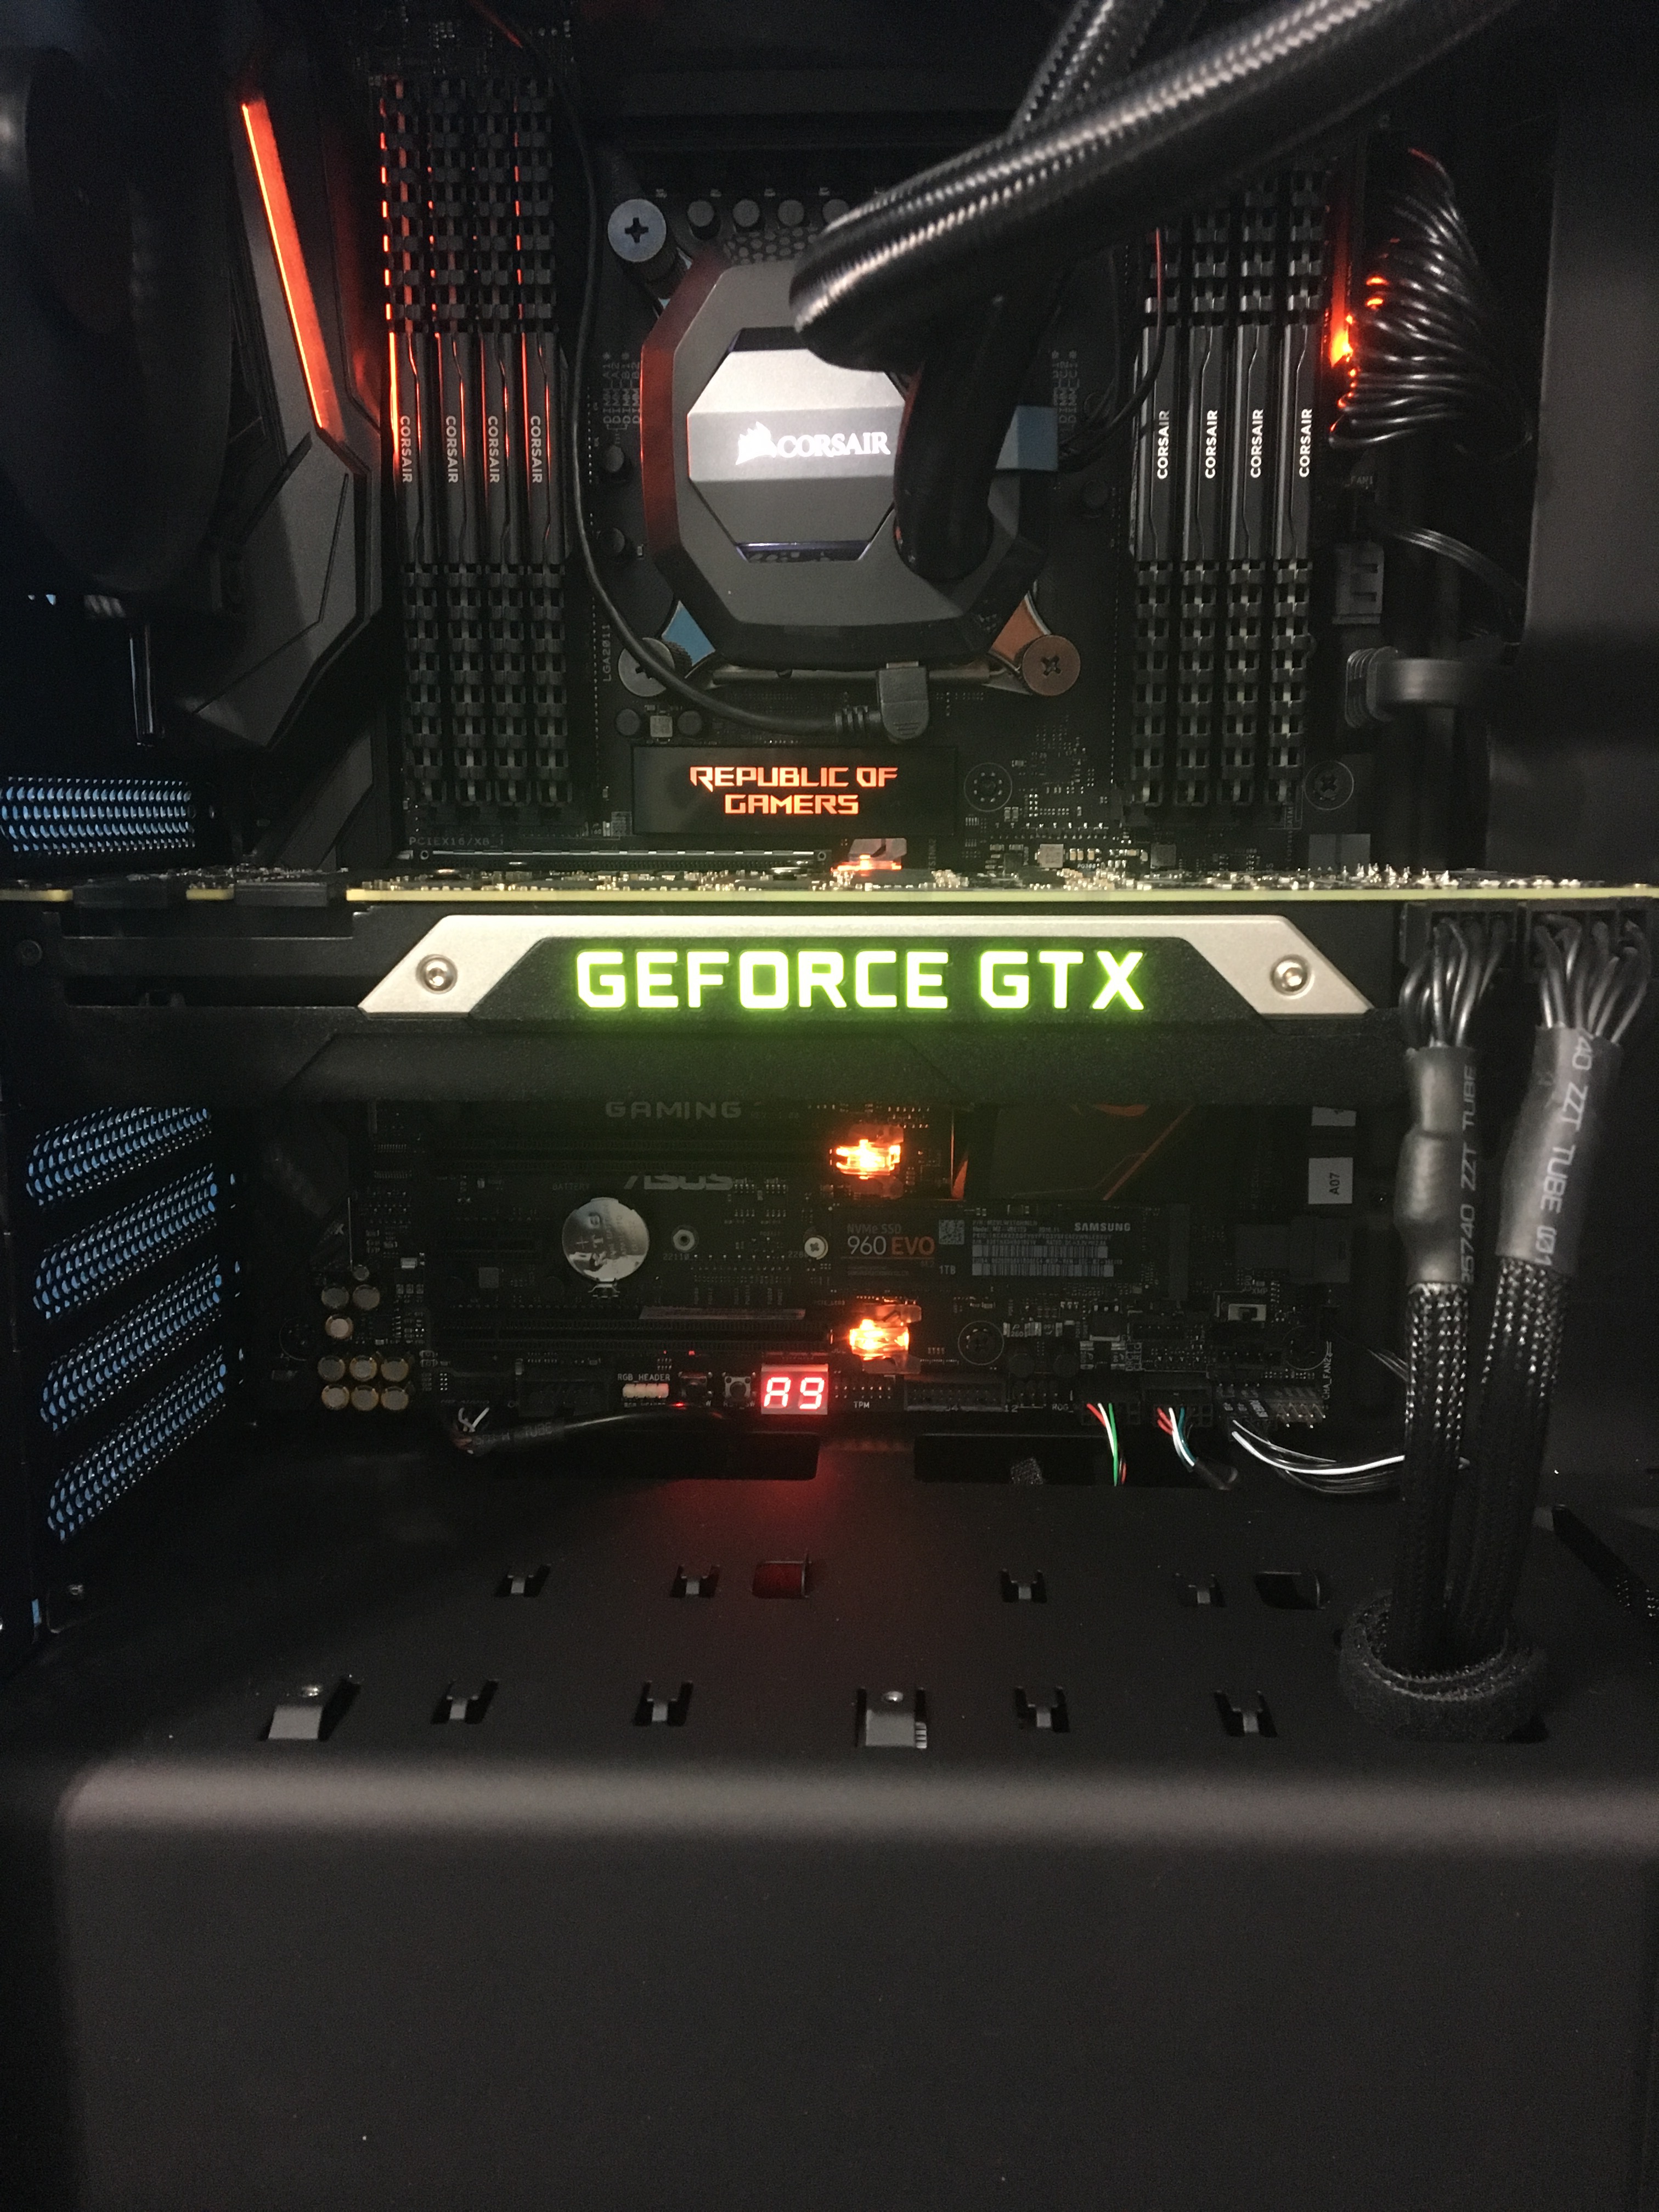
- ASUS Titan X Maxwell (from my eGPU setup)

The main dilemma I had was with the CPU architecture I wanted. With Intel the Skylake chips went up to 4 cores and were powerful enough for single threaded parsing and RAM, GPU, etc. interfacing. The other option was to go with the Broadwell E lineup, which had more cores and were more expensive. I decided to go with a Broadwell E chip for their increased multicore performance.
Within this, I was looking between the 6800k and the 6850k, both having 6 cores, with the latter having higher base and boost clocks. The biggest difference between these two choices was the number of PCIe lanes supported. the 6800k and all Skylake chips support 28 PCIe lanes, while the 6850k and above could potentially run two GPUs in PCIe 3.0 x16 speeds and 1 GPU at x8 speed. If i wanted to upgrade to a multi-GPU setup to store larger models, I wanted to have these extra lanes from the 6850k.
The Build
Even though this was my first build, the build process was relatively straight forward. I first installed components on the motherboard. I was concerned when installing the CPU, as I had to put a lot of pressure to secure it into the socket, so much that I was worried that I would snap an arm off. The RAM and the SSD were straight forward. Although I almost forgot that the SSD had to placed on a mount before screwing into place, which stops it from bending (this is why we read manuals).
I then plugged the cables I needed into the PSU and installed it into the case so I would have those cables ready. The motherboard came on to the case next followed by the CPU cooler. This case only supported a 280mm radiator in the front of the case, so I had to install the cooler in the the front with the air being pulled in. Later I would check that the fans in the front and the top were oriented so they were pushing the air out. I use the tabs and the holes in the back of the case to cluster the cables together.

After seating the GPU I needed to connect various headers to the motherboard. I kept the cables from the fans, USB headers, audio, and power button on the outskirts of the motherboard to give it a clean look. After all this I turned it on and it was able to post on the first try. The resulting look is pretty neat!
Software Installation
This part took a lot longer than expected. I started with a copy of windows to install BIOS and other updates (modern ASUS motherboards give BIOS update packages through the OS, which later is installed via a USB during boot). Most of my problems came with installing Ubuntu and dual booting.
I wanted to primarily use Ubuntu for my developer environment. I was able to get the basic install the first time, but when installing the NVIDIA drivers the install would never finish and get stuck at the last stage. When I tried restarting, Ubuntu would not be able to load the graphical environment. I couldn’t find a solution so after I reinstalled Ubuntu, I tried updating the driver another way. I started to install CUDA, which had the graphics driver bundled with the install, and this time I got an error message that said installing would require disabling secure boot.
Secure boot is process that is meant to stop other malicious programs or operating systems from loading before startup. This was implemented in order to combat low-level malware and unauthorized drivers by storing a key on the motherboard, which is interfaced with when Windows loads. This same security was also blocking my attempt to install the NVIDIA drivers on the Ubuntu side, which I did not know at the time. After disabling secure boot (which I would not recommend if you are only running windows) I was able to update the graphics drivers through the CUDA installation.
I also ran into some small problems when defining my partition when installing Ubuntu, which somehow corrupted Windows boot. After re-installation of Windows, the bootloader for Ubuntu was also removed, but luckily was recovered through boot repair…
Basically I would recommend to those who are dual booting on their systems to get the drivers on either OS up and running before installing any additional software.
Further Tests
I am going to write up a comparison on data transfer speeds and overall GPU performance with this PC build versus the eGPU setup I had previously. I would expect speeds on the eGPU/laptop setup to be around 60-80% of the desktop speed, but I have not seen these results myself. All eGPU benchmarks on the web are game FPS scores and synthetic benchmarks, so tests using machine learning benchmarks would be useful.